How to Close Your Hot Tub for Winter
How to Close Your Hot Tub for Winter
Hot tubs and Lay-Z-Spas are designed to be used all year round, with many enjoying a steamy soak against the refreshing chill of a winter breeze. However, using hot tubs in the winter isn’t for everyone – the water might be warm, but getting in and out certainly isn’t!
If you’re starting to use your hot tub or spa less and less as the weather gets colder, it may be time to close it down for the season. If you’re not planning on using it again until the warmer months, properly winterizing your hot tub is essential. Without taking the right steps and ensuring your kit is properly secured for winter, you could end up with costly repairs when you’re ready to open it again.
We suggest following these steps to shut down your hot tub when it's not in use this winter. Many of these tasks will be part of your more general hot tub maintenance checklist, so you’ll likely already be familiar with the necessary steps.

How to Winterise Your Hot Tub Step-by-Step
Use a recommended hot tub flush to clean out the pipes.
Turn the power to your hot tub completely off.
Drain your hot tub of all water.
Remove, clean, and store the filters away for spring.
Loosen fittings and union to allow any water to drain out.
Blow through the pipes and plumbing lines to remove water.
Remove any of the additional water that has been drained into the tub.
Clean the hot tub shell with a non-abrasive surface cleaner.
Clean and secure your hot tub cover.
Keep an eye on your hot tub over the next few months, ensuring nothing breaches the cover and that the cover remains clear of snow, ice or debris.
Step 1: Hot Tub Flush
Before turning off your hot tub and draining it for winter, we recommend using a hot tub flush such as the AquaSPArkle Hot Tub Flush. By flushing your hot tub, you will be able to clear all bacteria, biofilm build, and contaminants from your pipes.
All you will need to do is remove your filters, turn your jets on full blast and pour the recommended amount of flush into the filter housing. The pumps will then push the liquid through the hot tub system, leaving it clean and sparkly. After completion, we recommend leaving your hot tub running for at least 12 hours before turning it off to ensure that the hot tub flush has done its job.
Step 2: Turn the Power Off
Start by powering down your hot tub and turning everything off. Flip the breaker switch off to ensure no power goes to the tub. When performing these maintenance tasks with lots of water around, you’d don’t want to put yourself in unnecessary danger.
Step 3: Drain Your Hot Tub
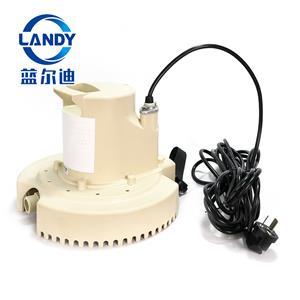
Completely drain your hot tub by attaching a garden hose to your gravity drain or by using a submersible pump. Make sure you direct the hose into an area that can withstand the water you’ll have to drain.
Any water left in your hot tub is prone to freezing, expanding, and cracking your equipment. So, you will also need to drain water from the air blower (if your tub has one). Here you should recover your tub, turn the breaker back on and run the blower to remove any remaining water. Once done, turn the breaker off again and remove the cover, ready for the next steps.
Step 4: Remove Filters
Take this chance to remove your filters and filter basket and give them a good clean. A good hot tub filter cartridge cleaner will remove any dirt built up since the last clean and ensure they’re ready for use when you open them back up again.
If your filters look a little worse for wear, replacing them with new ones upon opening might be better.
Make sure your filter well is drained of water too.
Step 5: Loosen Fittings & Unions
To continue allowing any residual water to drain out, loosen the unions on the pipes and plumbing and unscrew any pump fitting. Keep everything open to ensure any condensation can drain away before it has the chance to freeze. Store your drain plugs somewhere sensible, where you’ll remember them when the new season arrives.
Step 6: Blow Through Pipes
It really is worth being as thorough as you can when it comes to draining and removing water. Again, water in the plumbing lines can freeze and cause cracking or bursting, so ensure everything is as dry as possible.
Take your regular vacuum cleaner and turn on the blow setting to blow through jets and pipes, forcing out any water. To be really thorough, do this step more than once.
Step 7: Remove Any Water That’s Pooled
After all the draining and airing out of pipes, there might be a little bit of remaining water that’s pooled in the bottom of your tub. If there’s only a little water, you could use a sponge or cloth to wipe away the water or even a hot tub vacuum. If the pool of water is reasonably deep, you may want to use the submersible pump again.
Step 8: Clean Hot Tub Shell
Use a non-abrasive hot tub cleaner to wipe down the entirety of your hot tub or spa, removing dirt and bacteria, so there aren’t any nasty surprises in spring. You can also take this chance to give your cover a quick clean.
If you use cleaning chemicals that require rinsing, ensure any water used here is drained or dried away.
Step 9: Secure Hot Tub Cover
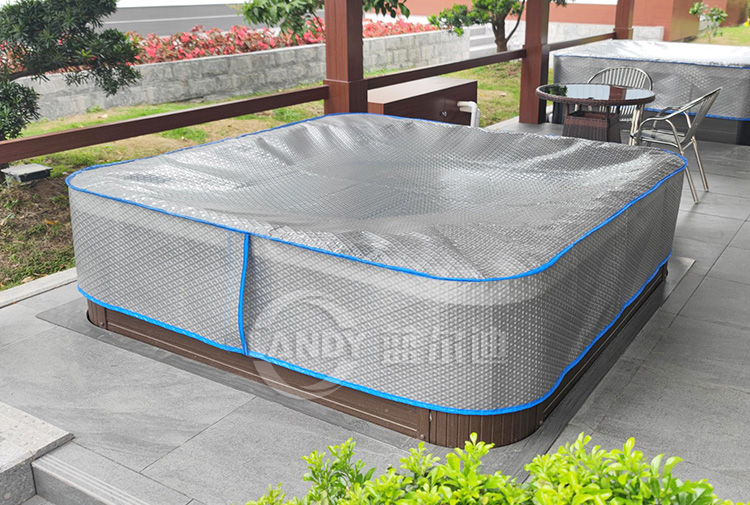
Your hot tub is finally ready to go to sleep for the winter, so secure your cover and double-check it’s locked in place – you don’t want anything getting in over the next few months. You may also want to add a tarp or cover cap over your hard hot tub cover to offer additional protection against harsher conditions.
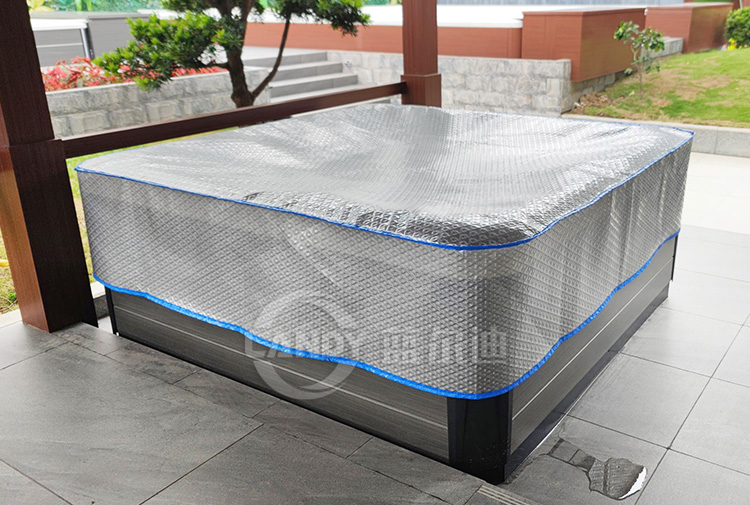
Once you’ve done all these steps, your hot tub should be safely secured for winter! It is worth keeping an eye on it and checking everything looks okay now and again to make sure you can fix any issues as they arise. Keeping your cover clear of snow, ice and other debris is also a good idea to ensure your body doesn’t dip under the weight or get damaged.
Now the only thing left to do is look forward to when you can open your hot tub once again! And when you do, you’ll need plenty of hot tub chemicals – you can find everything you’ll need right here at Landy.

